根据《互联网危险物品信息发布管理规定》中第九条第四款的要求
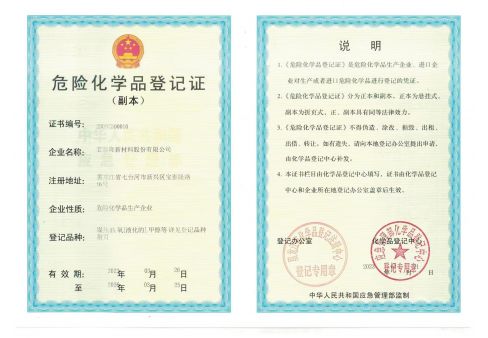
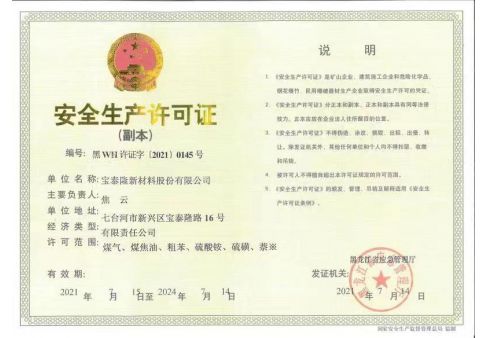
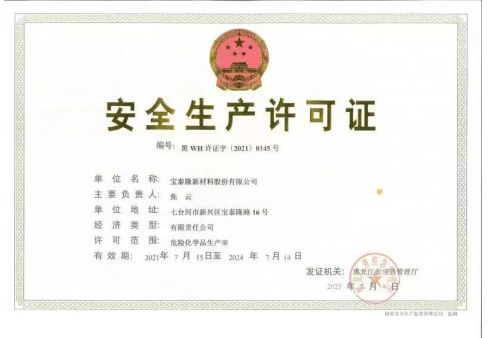
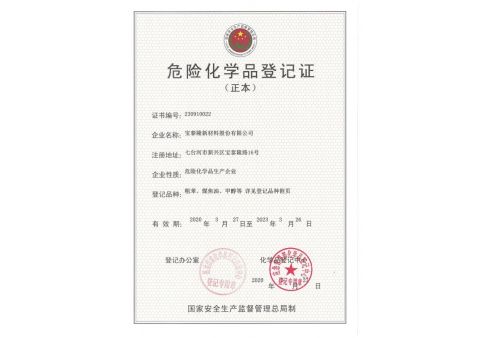
※ 购买剧毒化学品应当持有安全生产监督管理部门核发的《危险化学品安全生产许可证》,或者设区的市级人民政府安全生产监督管理部门核发的《危险化学品经营许可证》或者《危险化学品安全使用许可证》,或者县级人民政府公安机关核发的《剧毒化学品购买许可证》。
查看更多根据《互联网危险物品信息发布管理规定》中第九条第四款的要求
※ 购买易制爆危险化学品应当持有安全生产监督管理部门核发的《危险化学品安全生产许可证》,或者工业和信息化部核发的《民用爆炸物品生产许可证》,或者设区的市级人民政府安全生产监督管理部门核发的《危险化学品经营许可证》或者《危险化学品安全使用许可证》,或者本单位出具的合法用途证明。
查看更多我们的愿景
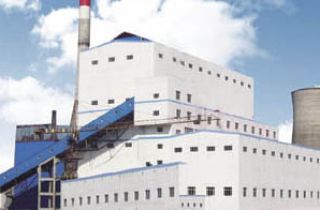
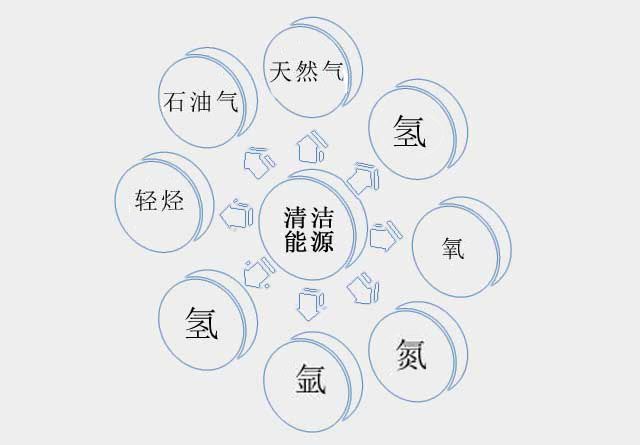
建设国内一流的清洁能源和石墨烯产业基地
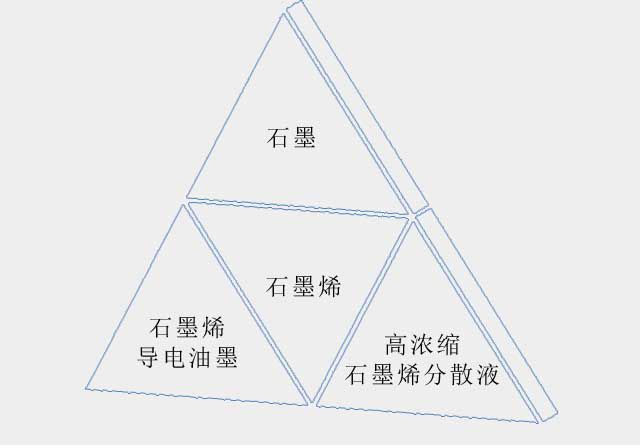
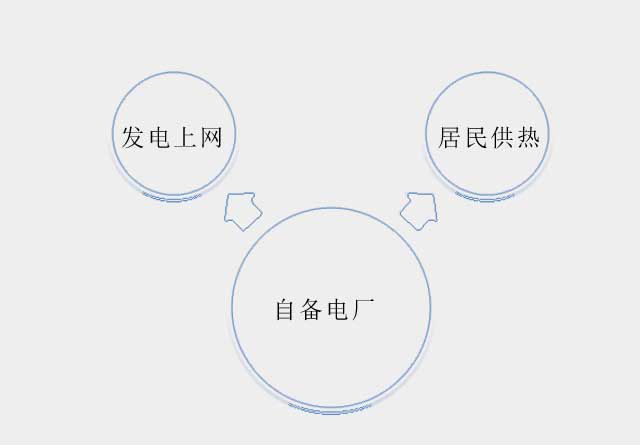
我们的愿景
建设国内一流的清洁能源和石墨烯产业基地
公告
更多>>- 【丽江音讯速讯】重现“烟火气”!金山这个04-23 06:34:53
- 【丽江信息速讯】古城区投资控股集团有限仔04-23 06:34:39
- 天价片酬不料曝光!出名男星被传家暴遭巨额04-23 06:34:23
- 南宫28NG国际,ng28官网下载,南宫NG28appdocument.write(elements[3]);
- 最高document.write(elements[4]);
- 最低document.write(elements[5]);
- 卖1: document.write(elements[6]);
- 买1: document.write(elements[7]);